Farm To Storage: How To Store Your Canning Supplies
October 1, 2024 | Family Life
As the summer sun wanes, the autumn horizon comes alive with the stunning colors of scarlet red, burnt orange, and golden yellow leaves. It’s a time when all the hard work put into the summer finally begins to bear fruit. With the changing seasons comes the important task of harvesting your crops and preserving their bounty for the coming months.
Preserving garden vegetables through canning has been a cherished tradition for centuries, dating back to the early 1700s. However, as technology has advanced, canning equipment and supplies have evolved, often becoming bulkier and requiring more storage space.
Keep reading to discover helpful information for organizing your canning equipment, tips for self storage, and best practices for canning garden vegetables!
Common Supplies for Canning Your Harvest
- Mason jars. Jars are essential for preserving food and are available in sizes like pints and quarts.
- Lids and bands. These pieces seal jars and keep canned goods fresh.
- Canning rack. Racks keep the jars elevated in the water bath or pressure canner.
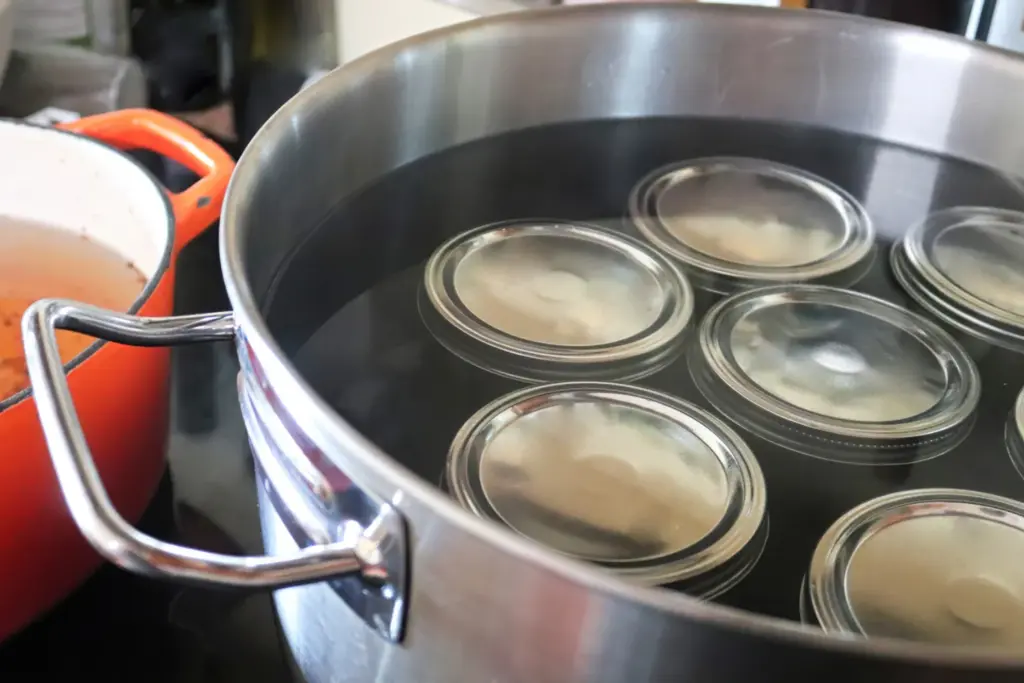
- Water bath canner. This pot is used for canning high-acid foods, including fruits and pickles.
- Pressure canner. These canners are necessary for canning low-acid foods such as vegetables, meats, and soups.
- Jar lifter. These special tongs are designed to remove hot jars from the canner.
- Funnel. Funnels help pour liquids and food into jars without spills.
- Bubble remover. This is used to remove air bubbles from jars before sealing.
- Pectin. A natural thickener that is often used in jam and jelly making.
- Ladle. Ladles are necessary for filling jars with hot foods or liquids.
Why Use Self Storage for Your Canning Supplies?
During the busy harvest season, space quickly becomes limited as abundant produce ripens. It’s a constant struggle to find room for crops, causing ripe tomatoes to line the windowsill and cucumbers to stack up into a pyramid on the countertop.
Don’t let your jars, packages, and canning equipment take up space needed for your harvest or canned goods! Self storage is an exceptional solution for keeping your home and pantry free of bulky supplies and equipment.

Self Storage Unit Tips: Storing Canning Equipment and Supplies
Equipment for canning can go unused for long periods while garden vegetables grow and fresh fruit forms from delicate flowers. We recommend keeping the supplies organized and in the same place can save time and effort when searching for them. Store canning tools like pots, funnels, jar lifters, and tongs in clear plastic containers.
Storing empty canning jars in a self storage unit can also create more space. Jars often come in packages of 24, so buying in bulk can take up quite a bit of room. You can also use the walls in your storage unit to maximize the available space. Consider adding shelving units to store canning jars and all the supplies in one place. Remember to cover the jars with lightweight tarps to prevent dust buildup.
Finding the Right Storage Solutions for Canning Enthusiasts
Discovering the perfect storage unit depends on how much you plan to store. First, assess what you plan to put in the unit and whether you want short- or long-term storage. If you plan to add large furniture pieces for long-term storage, consider a larger storage space. The first step should be to consult a storage unit size guide to help you calculate how much space you need based on the amount of stuff you have.
Preserving and Storing Autumn Harvest Vegetables
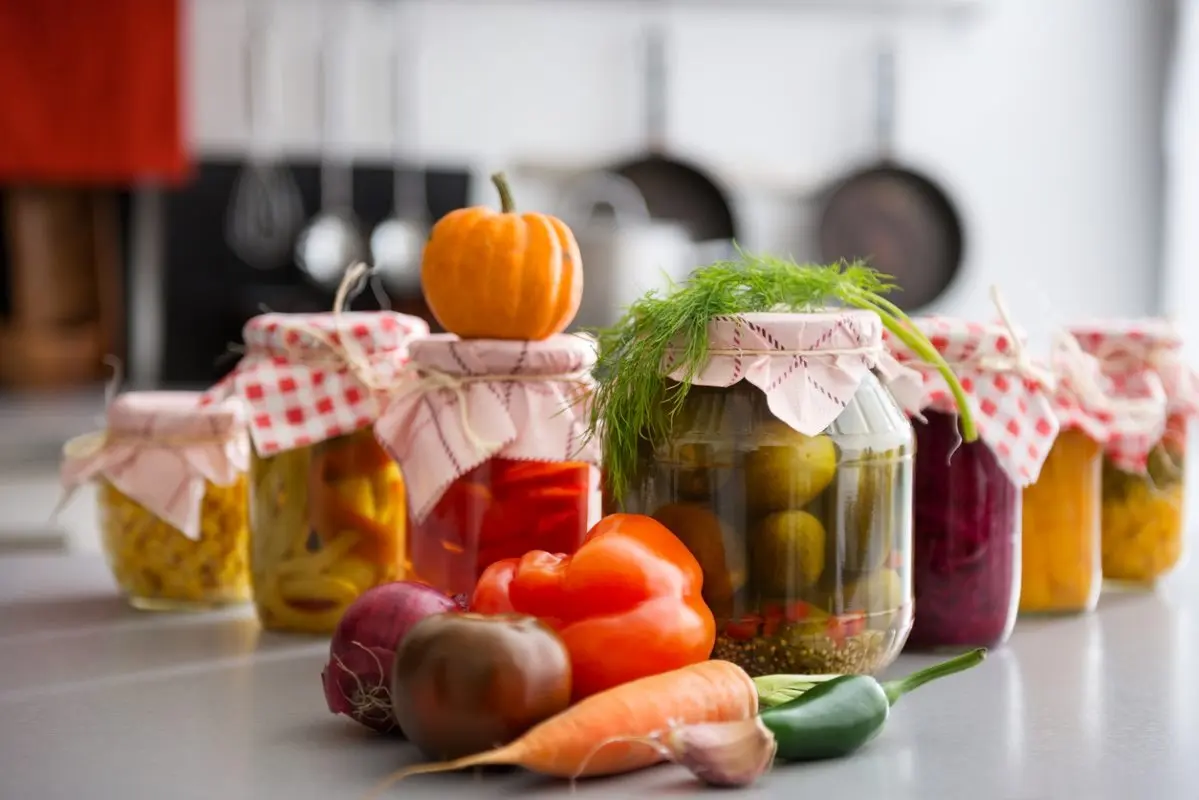
Canning vegetables at home with your autumn harvest is a rewarding experience as you create fresh spreads, jellies, jams, salsas, and pickled snacks from your homegrown crops. After visiting the canning supply store for fresh pickling spices or a few more packs of pectin and retrieving your equipment from your self storage unit, it’s time to start canning!
Harvesting Vegetables and Preparing for Canning
- Harvest at peak ripeness. Pick vegetables like pumpkins, squash, carrots, and tomatoes when fully ripe for the best flavor and nutritional content, avoiding overripe produce that could affect the quality of the canned items.
- Clean thoroughly. Thoroughly wash your harvested vegetables to remove dirt, pesticides, and other contaminants. Peel and trim vegetables, like carrots or squash, to remove skins and tough parts.
- Blanching vegetables. Blanching vegetables like green beans or tomatoes in boiling water temporarily helps maintain their texture, color, and flavor. After blanching, submerge the vegetables in ice water to stop the cooking process.
- Sort and cut uniformly. Chop vegetables into even, bite-sized pieces so they cook evenly during canning, and discard any bruised, moldy, or damaged portions to avoid spoilage in your canned goods.
- Use fresh herbs and spices. Add herbs like thyme, basil, or rosemary to the vegetables before canning for enhanced flavor. Use fresh or dried spices that are not too old, as stale herbs may lose their flavor over time.
- Select a suitable canning method. For tomatoes and pickled vegetables, use a water bath canner. For vegetables like carrots, squash, and green beans, use a pressure canner to preserve them safely.

Storing Your Fresh Produce Before Canning
Sometimes, figuring out the right conditions to keep your produce fresh before canning can feel overwhelming. Here are some tips on storing your harvested goods before creating canned concoctions:
- Pumpkins, squash, onions, and garlic. Store on shelves or pallets in cool, dry, well-ventilated areas and out of direct sunlight to prevent sprouting
- Cucumbers. Keep in perforated bags at 50° F and away from ethylene-producing fruits
- Tomatoes. Store at room temperature until ripe, then refrigerate if needed
- Carrots, potatoes, beets, cabbage, and Brussels sprouts. Stock in cool, humid areas with proper ventilation in perforated bags or crates for freshness
Organizing Strategies for Limited Space at Home
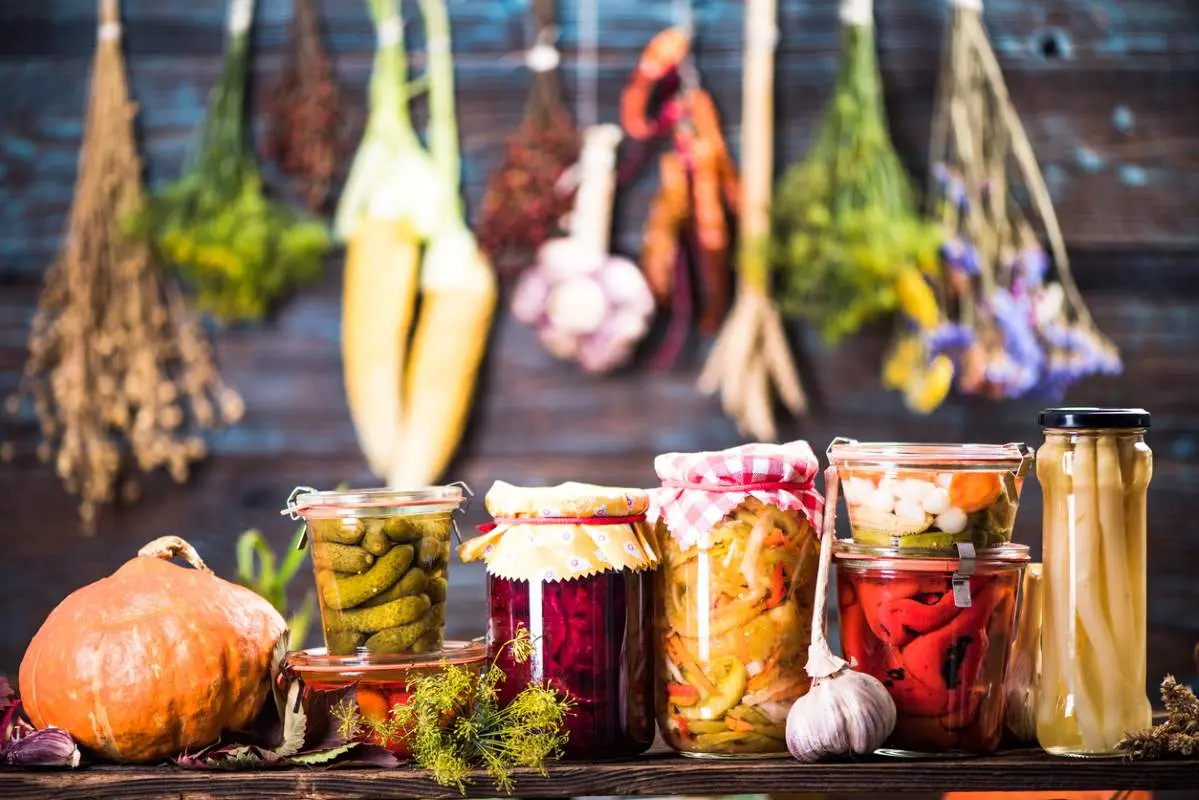
After canning vegetables at home with family and friends or while listening to your favorite songs, it’s important to use creative storage solutions to maximize the space for your canned goods. Separate your canned goods by type, such as vegetable and fruit preserves or soups, salsas, and sauces. Keep these categories together on specific shelves, racks, or certain areas.
Make sure to clearly label each jar with the date when it was canned so that you can easily keep track of its freshness. Consider using different colors to visually distinguish between different types of jars, which can help you quickly identify them. These simple techniques will help you assess the freshness of the contents, find specific goods, and rotate your stock effectively.
You should also ask yourself: What is the shelf life of canned vegetables and preserved goods? Low-acid foods like vegetables maintain quality for two to five years, while high-acid foods like tomatoes and fruit last up to 18 months.
Enhancing Sustainable Living With Metro Self Storage
Storing your supplies for canning, equipment, and large items in a self storage unit can help you reclaim valuable space in your home or pantry, allowing you to better arrange and manage your preserved goods. Metro Self Storage is an affordable option with a variety of storage unit sizes to choose from.
Find the nearest Metro Self Storage facility or complete a contact form online to get started! Explore our storage blog and frequently asked questions page for more details about our storage process.
We also invite you to check out our practical storage and packing tips to learn more about maximizing your home, pantry, or storage unit.


